TABLE OF CONTENTS
Overview
Employ TODA Live for raw editing in 4K during live sessions involving multiple teams. Simultaneously view several TODA Live Create Sessions to ensure the best visual experience for peer content review.
Configure Create Session Settings
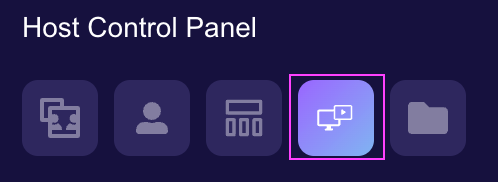
Starting in a TODA Live room, navigate to the Host Control Panel (HCP) and select the Streaming Settings tab.
Under Create Session Settings, click the Video Resolution dropdown and select 4K and Frame Rate 59.94 or 60 FPS.
TODA TIP:

Frame Rates, for example 60 FPS, indicate how quickly video frames are displayed within a second.

Fractional Frame Rates, such as 59.94 FPS, are common in Broadcasting and refer to the actual rate at which videos play during playback. These frames are adjusted to ensure consistency.

Overall, higher frame rates result in smoother video quality.
Starting your TODA Live Stream
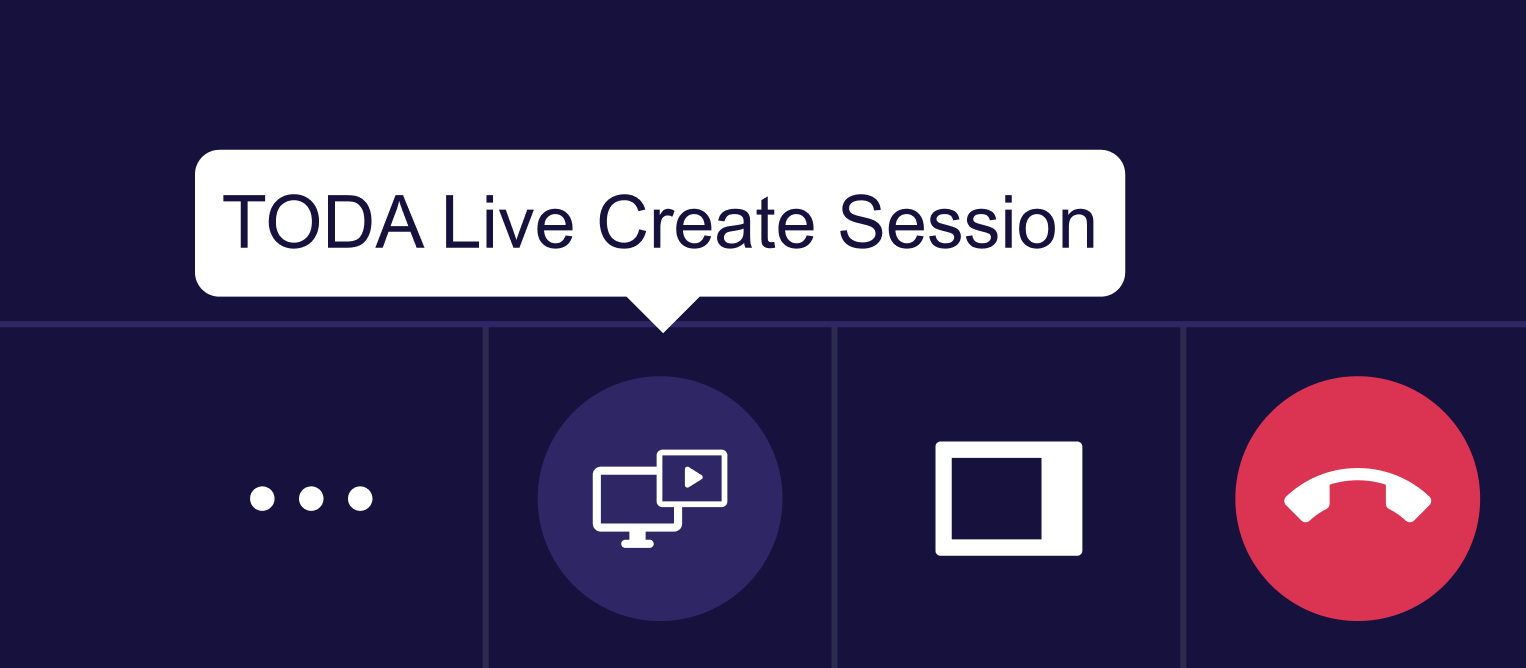
- Starting in the TODA Live room, navigate to the TODA Live Create Session icon, located at the lower right-hand corner of your window.
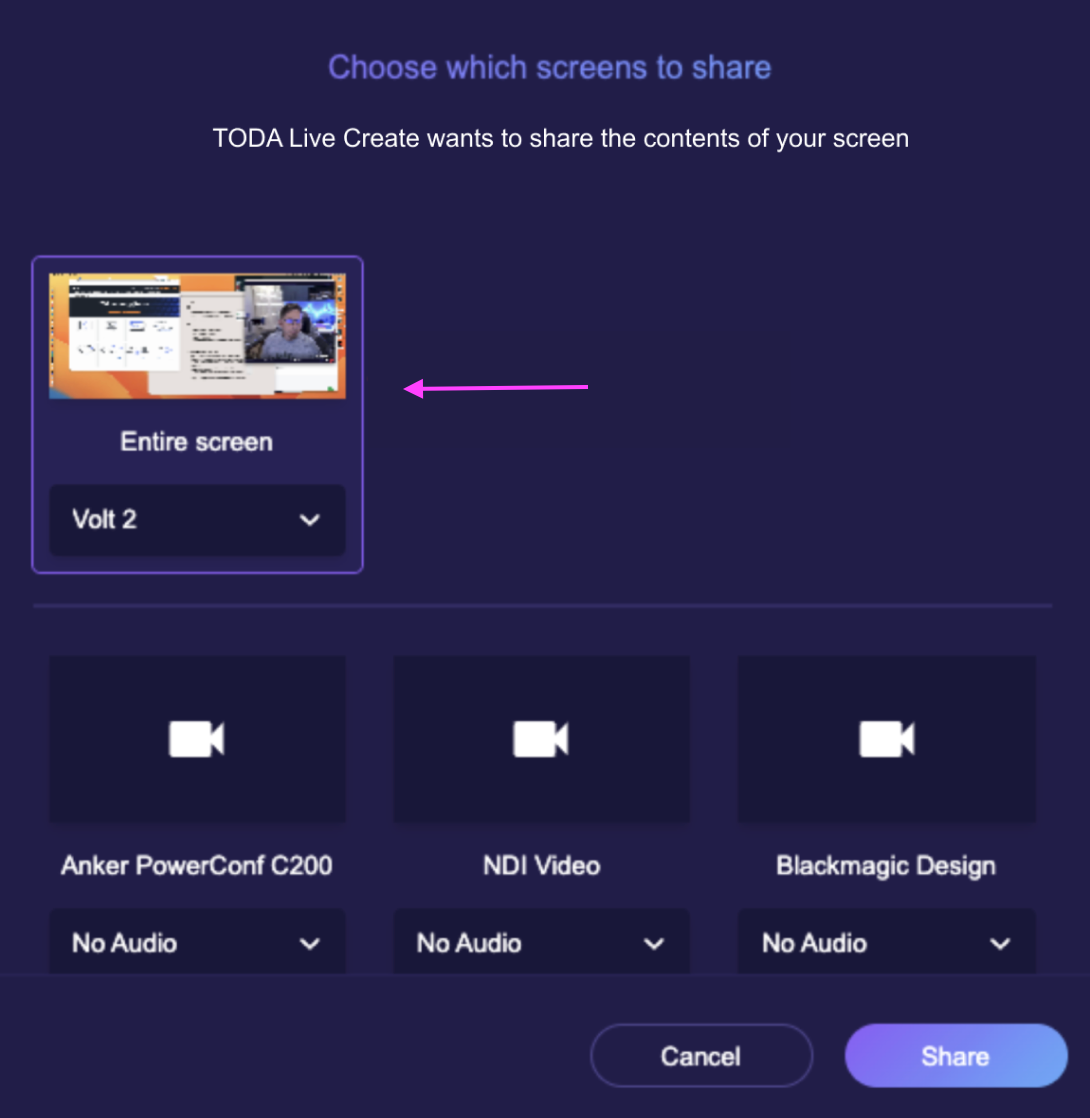
- A dialog box will appear.
Next, select your desired Screen(s) and Audio Source(s).
Your screens(s) will appear in the room. Depending on your internet connection, loading time can take up to 30 seconds.
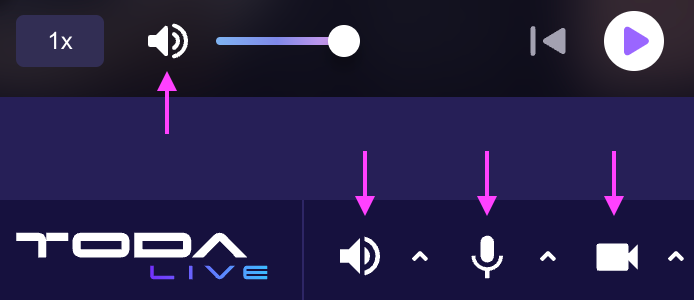
Next, be sure to turn off the TODA Live Audio on the Workstation. This will prevent audio echo.
Click on the Speaker on the active media.
Click on the Speaker on the bottom bar.
Click on the Mute button.
Click on the Video button.
NOTE: For multiple TODA Live Create Sessions, only the first session will automatically appear in the room. If there are more sessions, simply drag and drop them into the room from the HCP Media tab.Now, several individuals can review multiple projects and conduct concurrent TODA Live Create sessions within the room!
Was this article helpful?
That’s Great!
Thank you for your feedback
Sorry! We couldn't be helpful
Thank you for your feedback
Feedback sent
We appreciate your effort and will try to fix the article
