View Table of Contents
Available: June 2024

Overview

Connect multiple Frame.io accounts, access projects, and present media files directly from a TODA Live room! Imagine your team has a ton of footage to review, but need it done quickly and efficiently. With just a few clicks, users can collaborate on videos, images, audio, and PDFs in real-time while enjoying the functionality of TODA live features.
Requirements
This integration requires an active Frame.io account.
The Host must first enable Frame.io from the Admin Control Panel, to use the Frame.io integration – learn how to enable Frame.io below.
Feature Guide
Enable the Frame.io Integration
To start using the Frame.io integration, Hosts must first enable Frame.io from the Admin Control Panel.
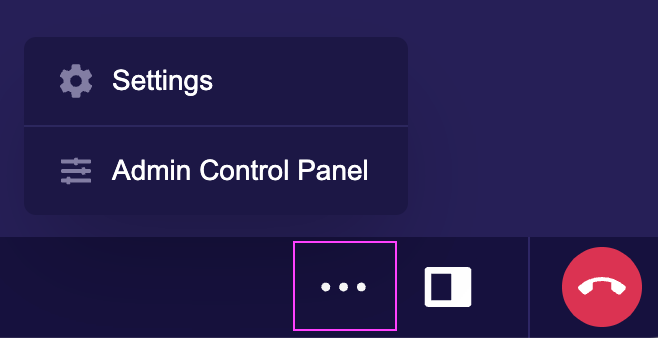
Starting from your TODA Live room, click the bottom bar menu.
Select Admin Control Panel.
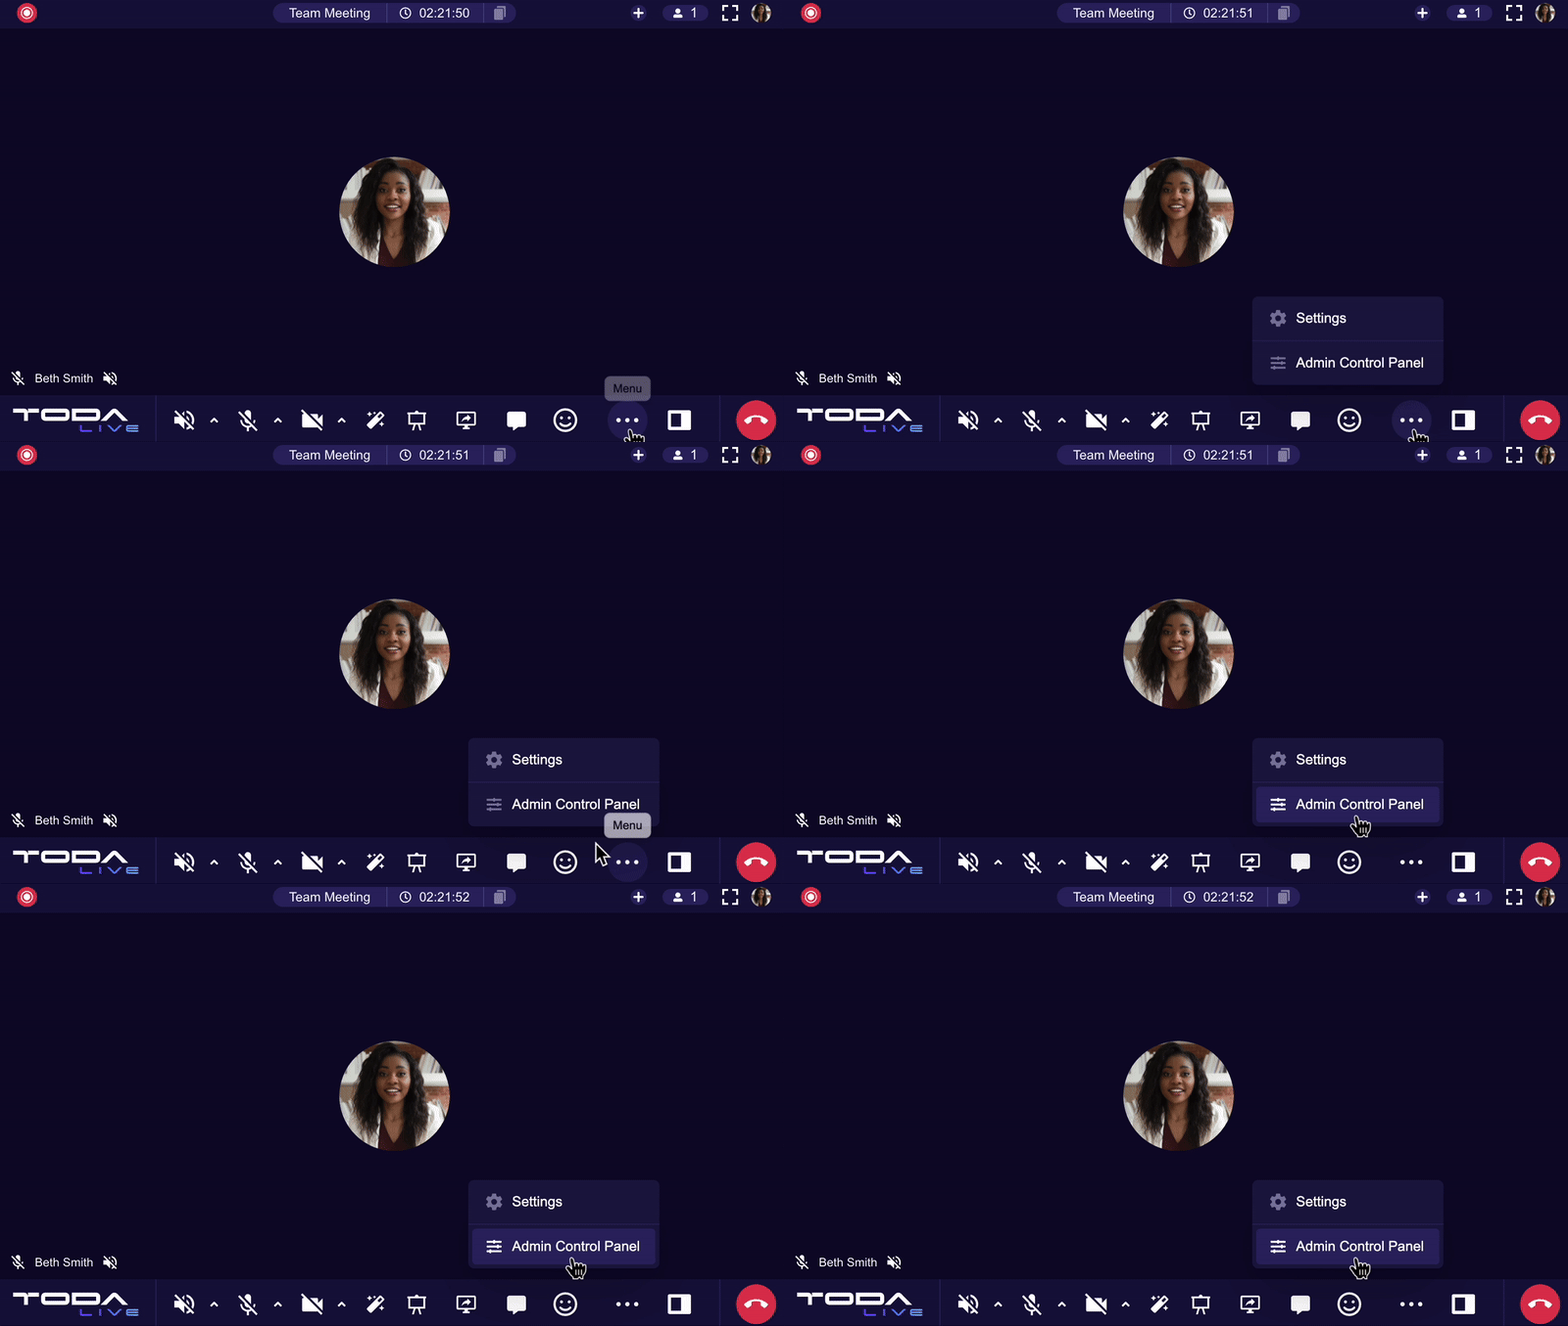
A separate window for the Admin Control Panel will open.
From the Dashboard tab, navigate to and click the Frame.io toggle.
Once this is complete, you will be able to access the Frame.io feature from the Host Control Panel.
Connect a Frame.io Account
Now that the Frame.io feature has been enabled, it’s time to connect your Frame.io account to your TODA Live room!
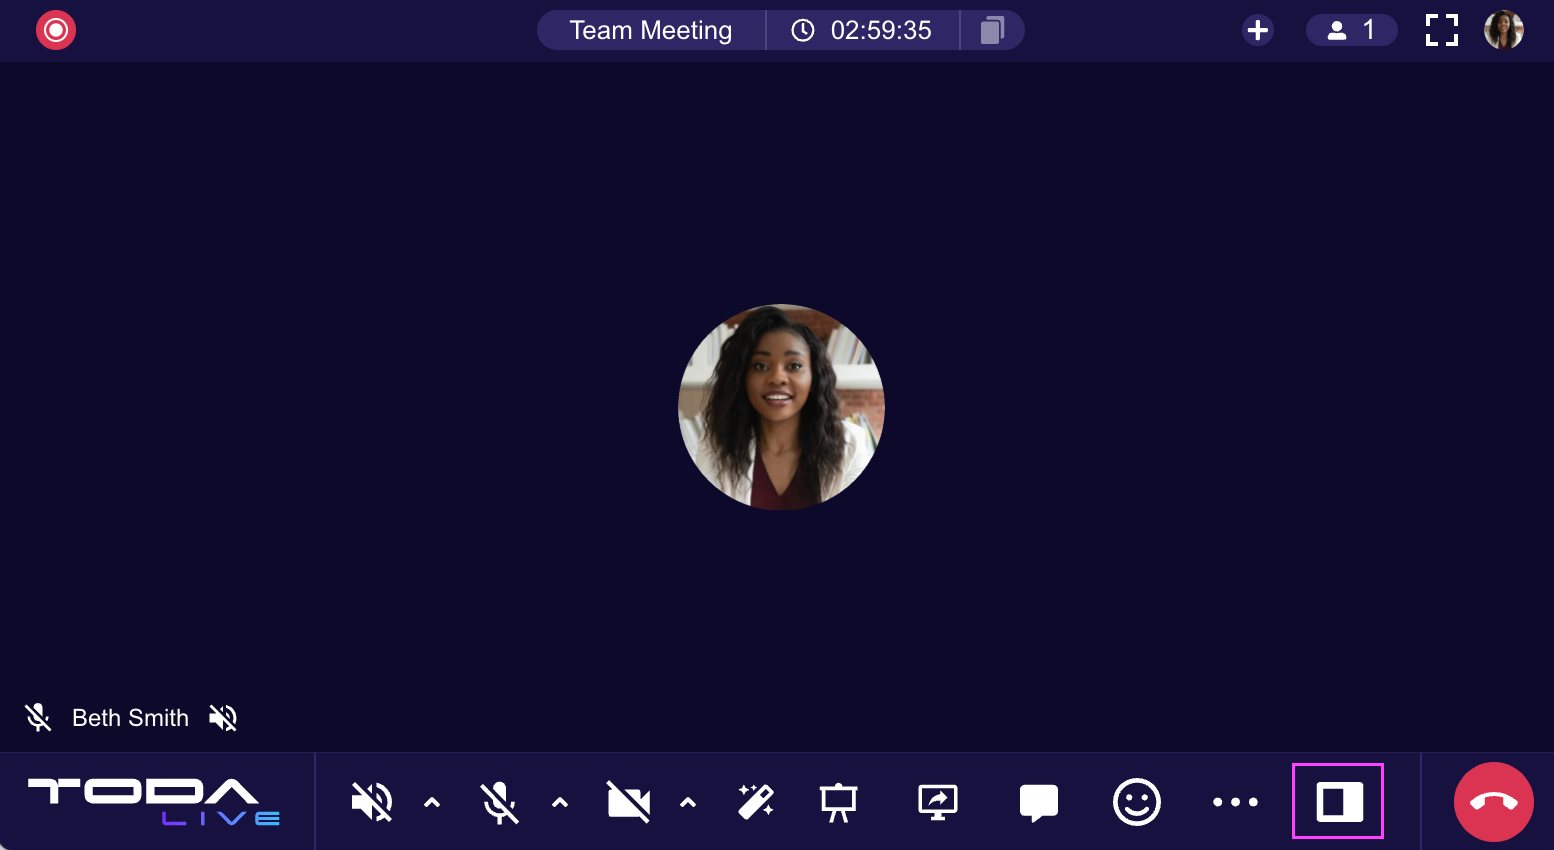
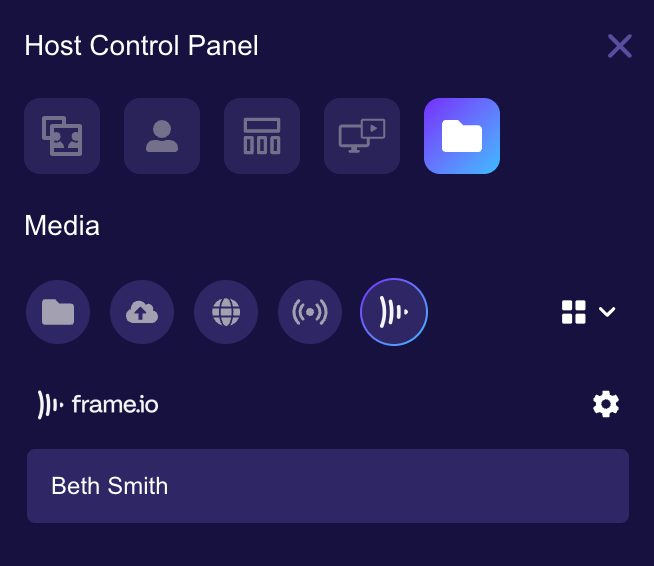
Starting from your TODA Live room, click the Host Control Panel button, located on the bottom bar.
The Host Control Panel will appear on the right hand side of your room.
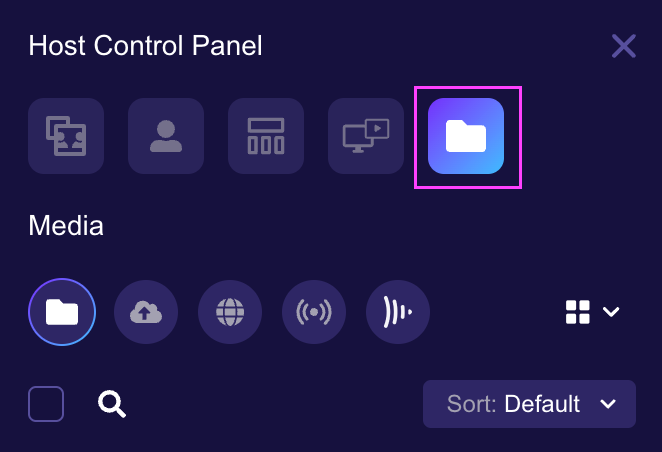
Navigate to and select the Media tab.
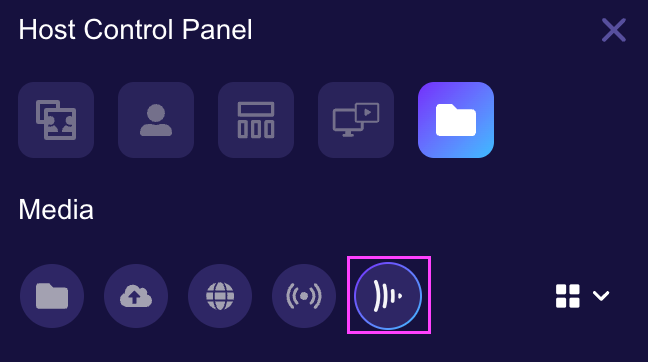
Then, click the Frame.io sub-tab.
Next, click the Login button.
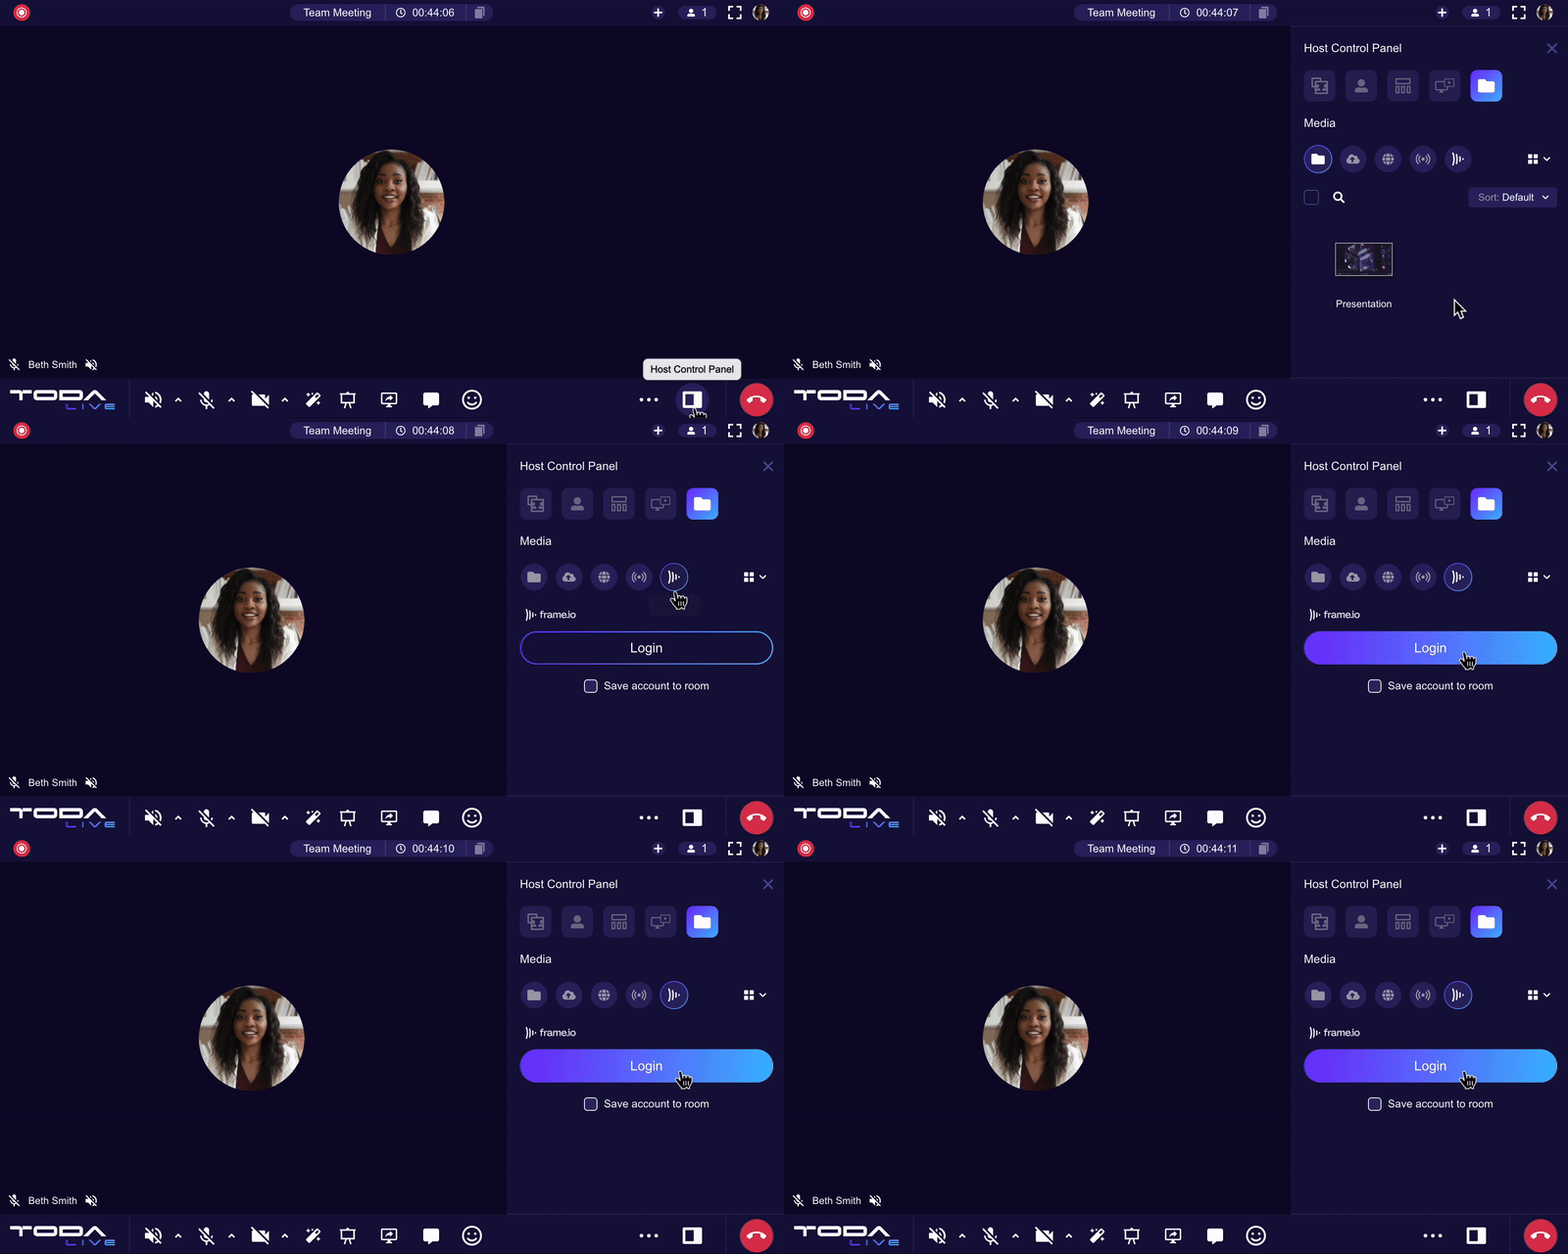
TODA TIP: Before signing in, be sure to check the Save account to room box, to avoid having to re-enter your credentials each time you enter your room.
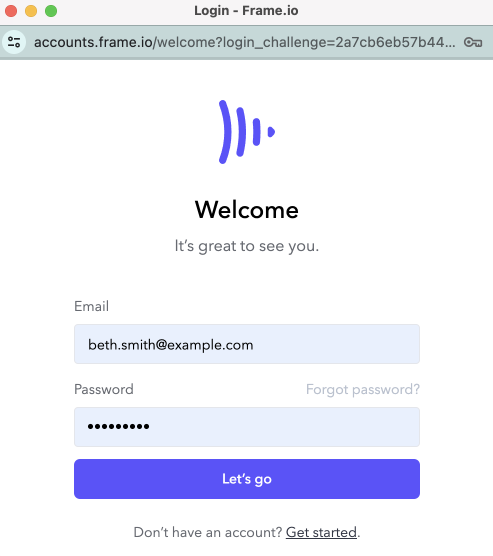
A dialogue box will appear prompting you to enter your Frame.io credentials.
Enter your Frame.io account email, then click the Let’s go button.
Enter your Frame.io password and click the Let’s go button.
Next, you will be asked to grant access to information from your Frame.io account.
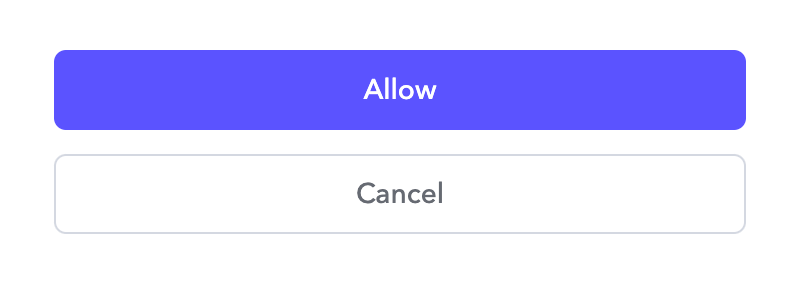
Scroll to the bottom of the window and click Allow to grant access to your Frame.io account, or Cancel to return to the email window.
Once your account is connected, you will be able to access your Frame.io projects and media files directly from your meeting room.
Add Additional Frame.io Account(s)
Teamwork makes the dream work! Streamline collaboration by adding multiple Frame.io accounts to your room.
Starting from the Media tab, navigate to and click the Frame.io subtab.

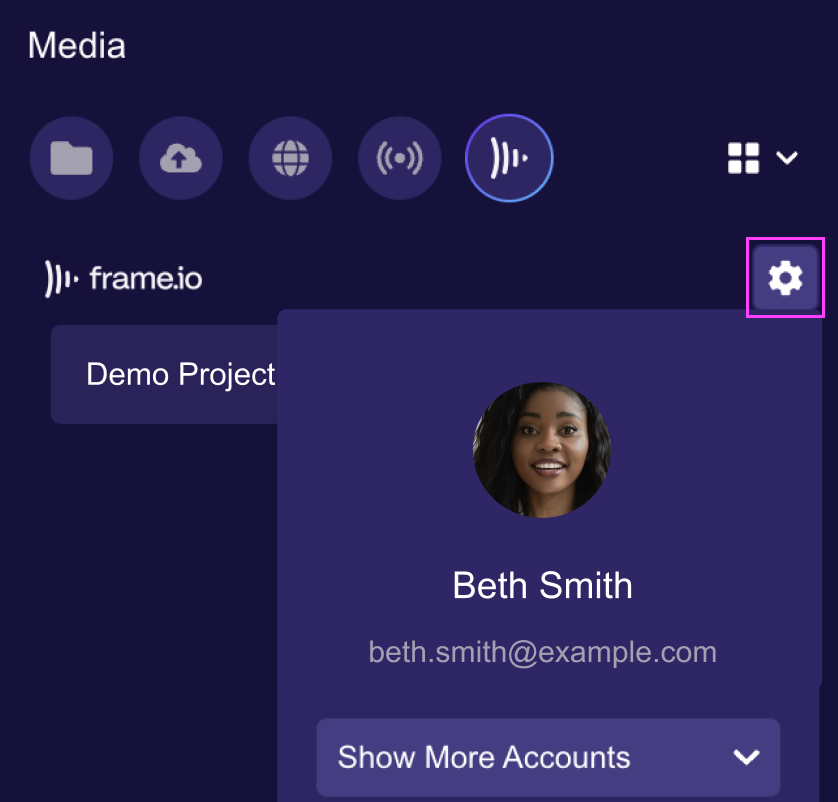
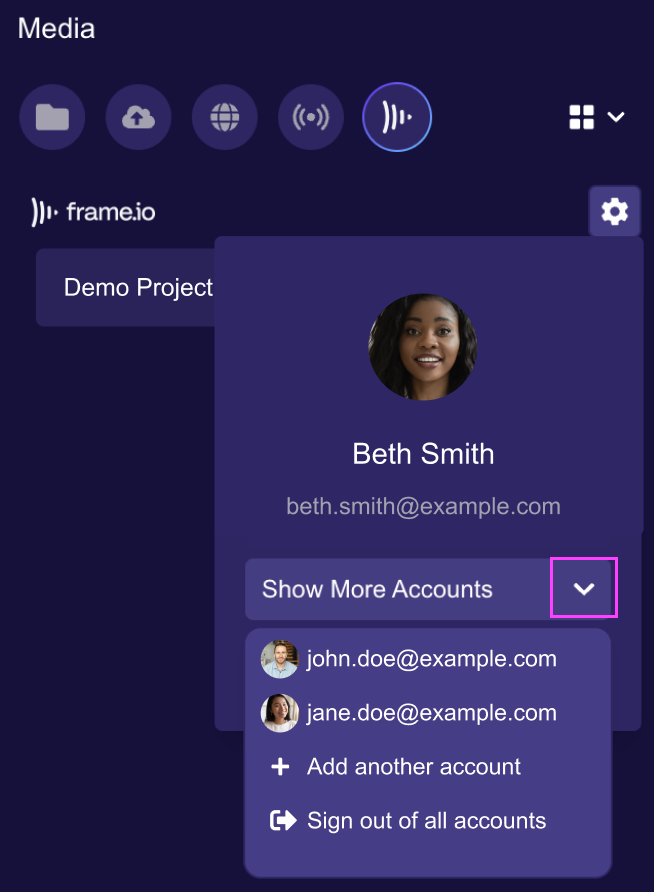
Next, click the Account Settings button, located to the right of the panel.
Select the Show More Accounts dropdown to reveal additional options.
Click, Add another account to connect additional Frame.io accounts.

From here, you will be able to connect another Frame.io account.
Switch Between Frame.io Accounts
Navigate between accounts to easily access your team's Frame.io files in one convenient location.
Start from the Frame.io sub-tab.

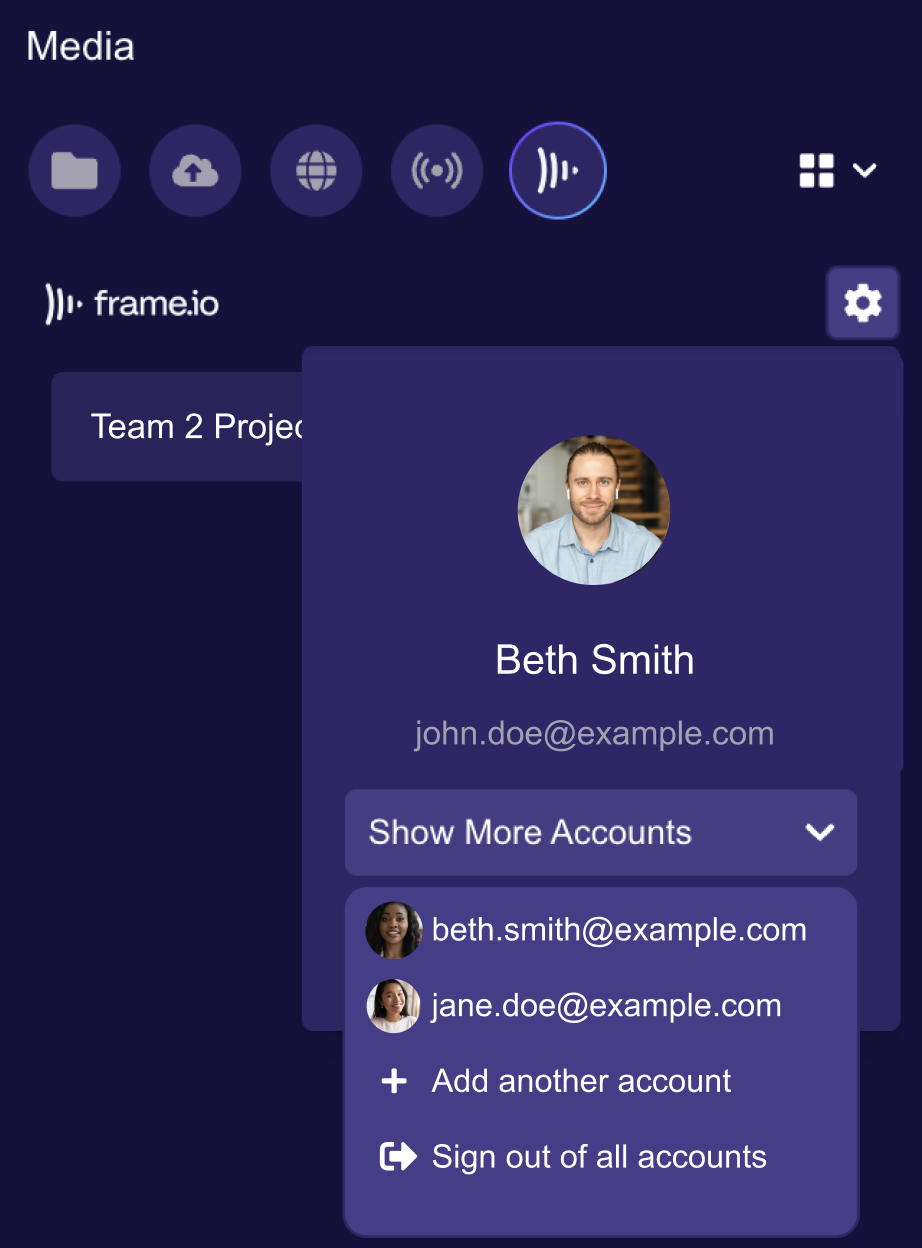
Next, click the Account Settings button, located to the right of the panel.
Select the Show More Accounts dropdown to reveal Frame.io accounts that you’ve added.
Once you’ve selected an account, you will be able to access its projects and media files.
Add Frame.io Files to the Media/File Browser
To prepare for your meeting, keep media files on standby in the Media/File Browser to easily share them with the room.
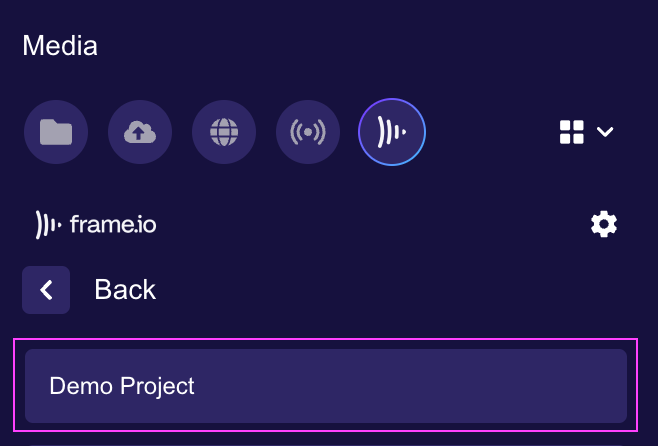
From the Frame.io sub-tab, navigate through your Frame.io projects and locate the media file you would like to share.
Select Add to Media.

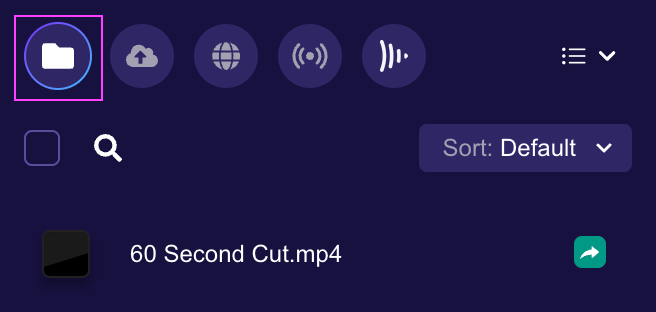
You can now locate the file in the Media/File Browser sub-tab.
Present Frame.io Files to the Room
Time to share your Frame.io file(s) with the room!
From the Frame.io sub-tab, navigate through your Frame.io projects and locate the media file you would like to present.
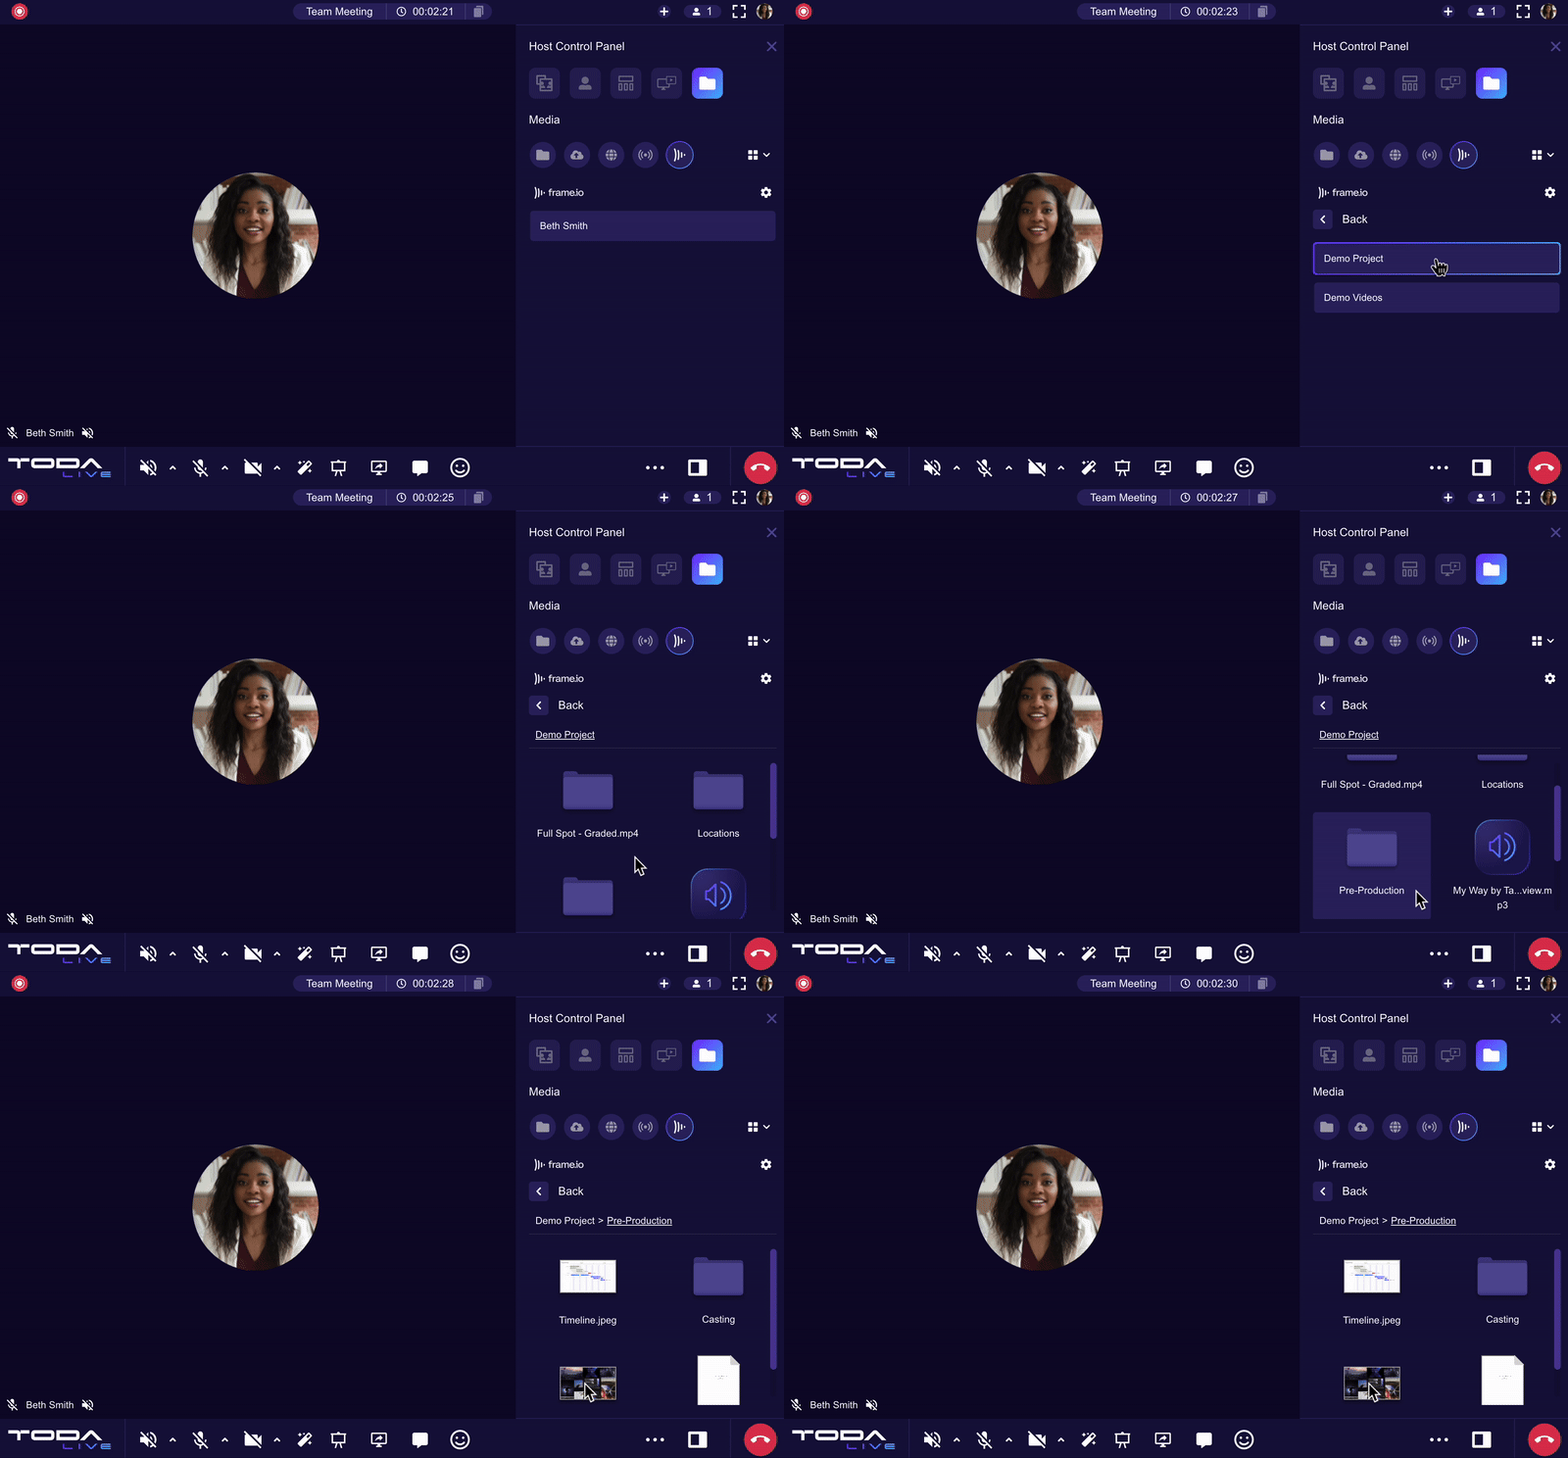
Right-click the media file to reveal additional options.
Select Present.

The selected file will be shared with the room and added to your Media/File Browser if it hasn’t been added before.
TODA TIP: You can also present media files from the Media/File Browser sub-tab. Simply double-click the media file and click Let’s go!
Stop Presenting Frame.io Files to the Room
Once you’re done sharing your file, there are a few ways to remove it from the room.
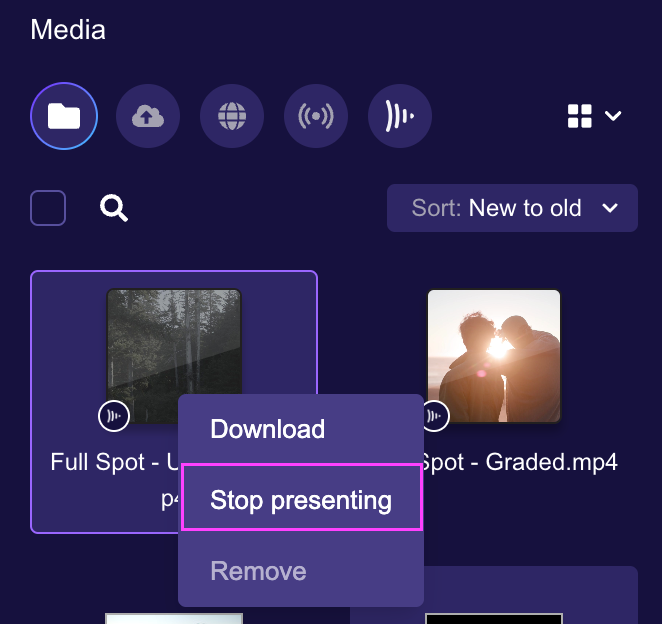
Right-click the media file to reveal additional options.
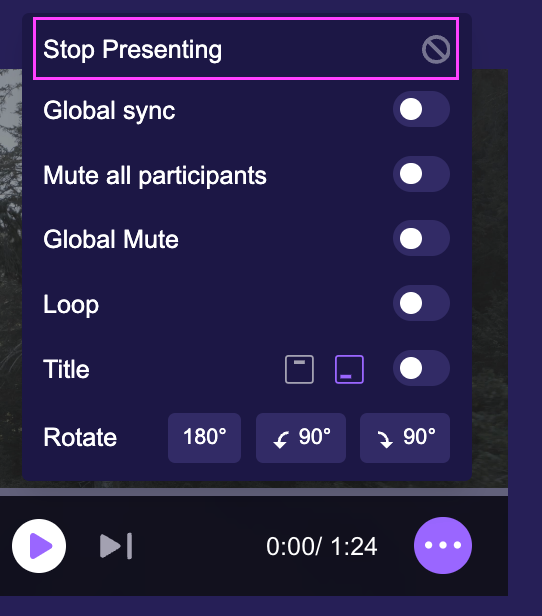
Select Stop presenting.
Hover your cursor over the media file to reveal the media tile menu.
Click the menu button, and select Stop Presenting.
Download Frame.io Files
Download Frame.io Files to store on your device for later use or to share with others.
Download Frame.io Files from the Host Control Panel
From the Media/File Browser sub-tab, right-click the media file you would like to download.
Select Download.
The file will begin downloading to your device.
Download Frame.io Files from a Browser
Download media files using Copy Link. It's a convenient method for sharing files with others, allowing them to download directly from their browser.
Starting from the Frame.io sub-tab.

Next, select a project.
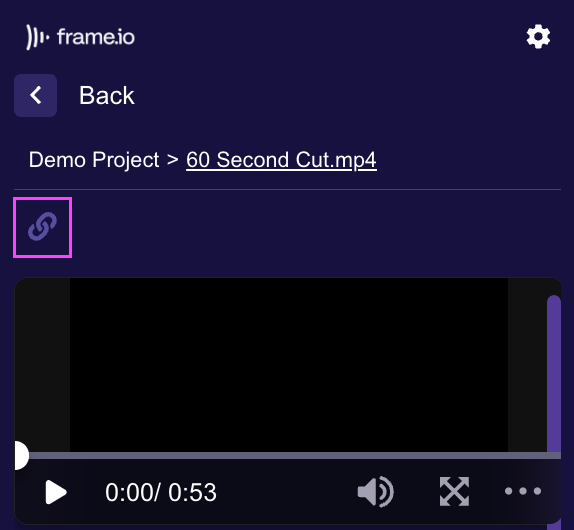
Navigate to and single-click a media file to reveal its details.
Next, click the Copy Link button, located above the media preview.
Finally, paste the URL into a browser. Once a search is initiated, the file will automatically begin downloading.
Remove Frame.io Files from the Media/File Browser
Once you’ve finished presenting media and no longer need it in your Media/File Browser, you can easily remove it from your media list.
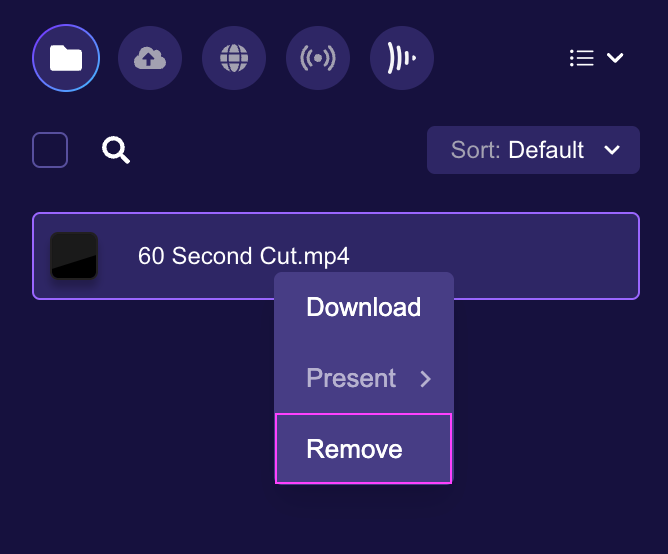
From the Media/File Browser sub-tab, right-click the media file you would like to remove.
Select Remove.
At the bottom of the Host Control Panel, you will be prompted to Cancel or Continue to delete the file.
Click Cancel to keep the media file in your Media/File Browser, or Delete to remove it.
NOTE: You can re-add files to the Media/File Browser if needed.  Simply, return to the Frame.io sub-tab, locate and right-click the file, and select Add to Media.
Removing files from the Media/File Browser does not delete
them from their original Frame.io folder.
Sign out of Frame.io Account(s)
When you’re finished using a Frame.io account, easily sign out.
Starting from the Media tab, navigate to and click the Frame.io sub-tab.
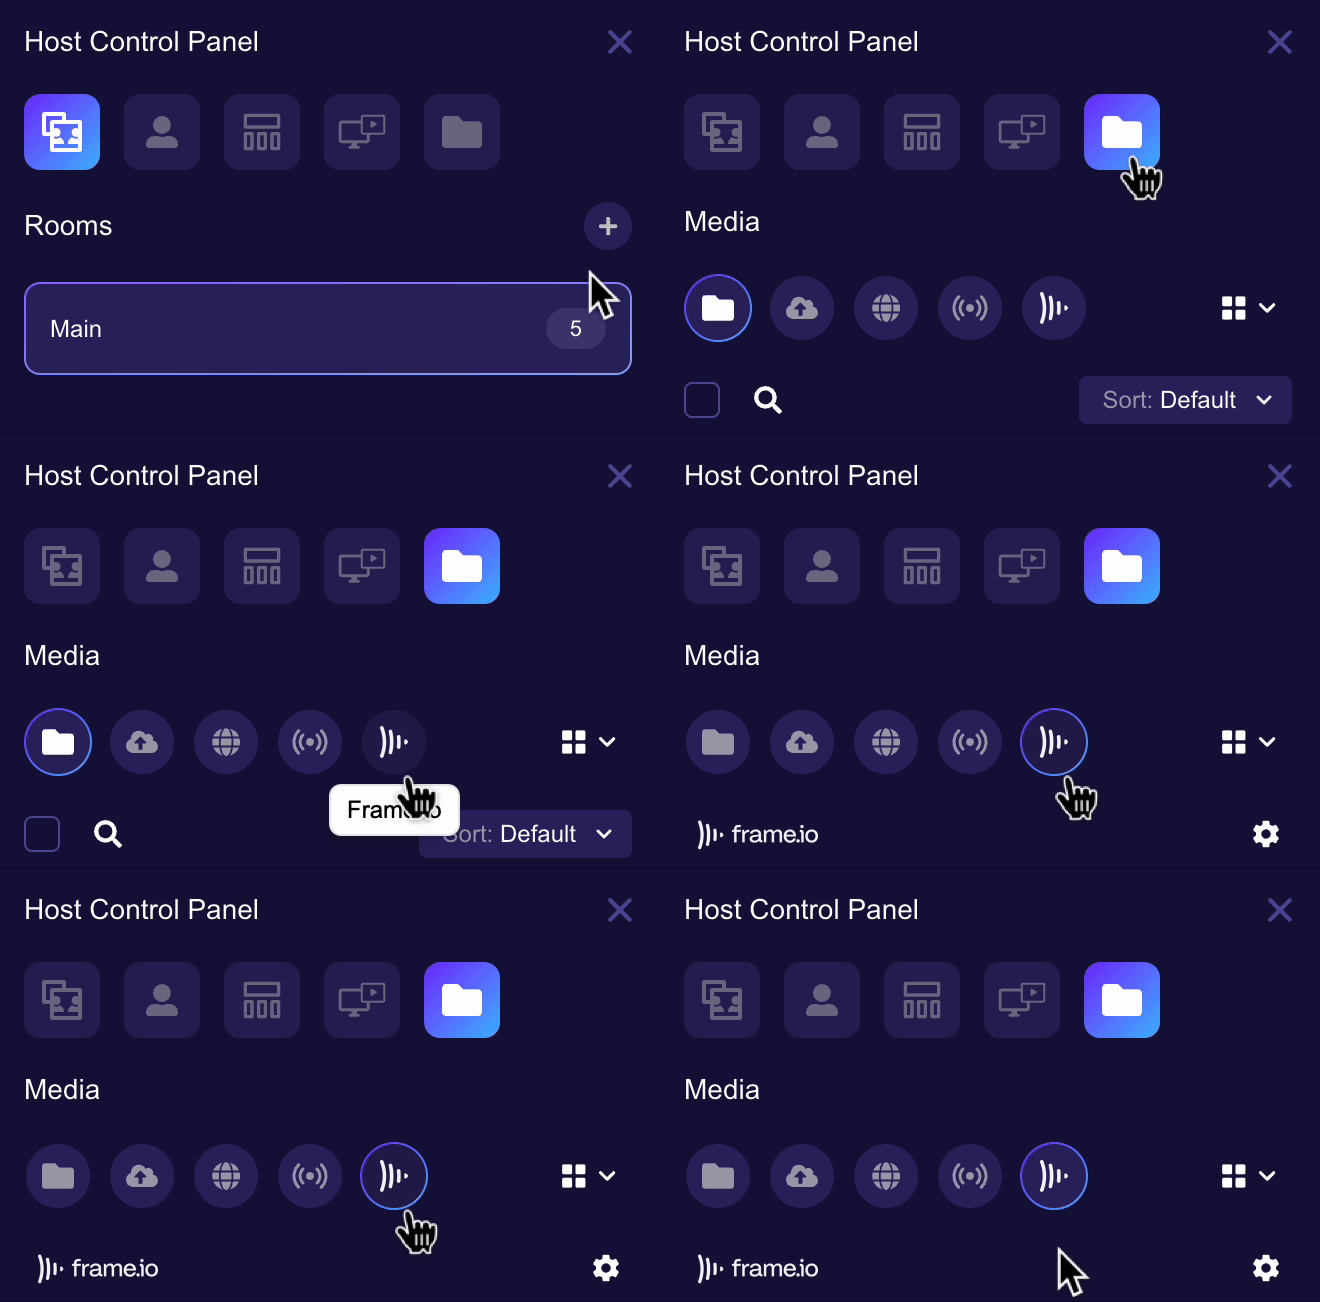
Next, click the Account Settings button, located to the right of the panel.
Select Sign out of all accounts to unlink your Frame.io account(s) from the Frame.io sub-tab.
Media File Details
Explore additional details related to your media files.
Aspect Ratio
Aspect ratio adjusts the shape and size of the selected media file, usually expressed as two numbers separated by a colon. It determines the width and height of your media file.
Information
Find additional details about a media file, including who uploaded it, the upload date, and a URL link to open the file in a browser.
Playback Settings
Configure playback settings of a specific media file, here you can activate the following features.
Active
The Active toggle displays your media file in the room. For video files, playback will not begin until you click the play button, and files will remain in the room until the Active toggle is disabled. This feature is useful for presenters who want to provide commentary prior to starting a video.
NOTE: This feature cannot be enabled if either Auto-active or Auto-play are enabled.
Whiteboard Overlay
Annotate the selected media in your presentation by drawing or adding text. You can do this by clicking the whiteboard overlay toolbar, allowing you to write directly on both the whiteboard and your media.
Simply disable the Whiteboard overlay feature to completely remove any markings on your media.
Media Toolbar
The Media Toolbar, situated in the upper right corner of your asset, allows the Host to easily modify the presentation layout by collapsing participant tiles. This feature is enabled by default.
Transcode
Select a media format to convert the current media file from one type (audio or visual) to another.
Need additional support?
Our support team is available to assist you with any questions or concerns you may have. Feel free to reach out by emailing us at help@lmmv.com.
Was this article helpful?
That’s Great!
Thank you for your feedback
Sorry! We couldn't be helpful
Thank you for your feedback
Feedback sent
We appreciate your effort and will try to fix the article
