View Table of Contents
Overview
The Media tab in the Admin Control Panel (ACP) offers features like auto-playing media, adjusting playback settings, and using URLs for embedded media. Hosts and Co-Hosts can upload and configure media ahead of meetings, facilitating efficient management of various media aspects within a meeting room.
(*)= Feature is only available for video files
Add Media to the ACP
Upload Media Files
Media files can be uploaded for your presentation through the Homepage Room Panel, the Host Control Panel as well as the Admin Control Panel. To upload assets via the ACP follow these simple steps:
First, click the Upload icon.
You will be prompted to upload your media file.
From here, you may choose to drag and drop your media file in the designated space.
OR
Click Browse files, in order to search through files located on your device.
- After you have uploaded your media file(s), the dialog box will confirm when the upload is complete.
TODA TIP: There is no specific limit to the number of media files you can upload for your presentation. However, it's important to note that the more files you upload, the longer it may take for them to load.Add URL
Easily share video or livestream links by utilizing the Add URL feature. For instance, you can paste a YouTube link and add it to your list of media, making it readily accessible for display during your meeting.
Start by adding a URL to the available url text box.
Next, click the Add URL icon, located to the right of the URL.
That’s it! The media is now visible in your media list.
NOTE: You can upload unsupported media files, but they will not display a thumbnail. Additionally, when attempting to present them in the room, you will receive an alert notifying you that the file cannot be displayed.Media Playback Settings
Auto-active*
While this toggle is enabled, you must click the video’s play button in order for the video to be displayed in the room. Once the video is paused or has finished playing, it will automatically be removed from the room.
NOTE: There may be a brief pause before the video and sound begin to play. In addition, this feature cannot be enabled if either Active or Auto-play are enabled.Active
The Active toggle displays your media file in the room. For video files, playback will not begin until you click the play button, and files will remain in the room until the Active toggle is disabled.
This feature is useful for presenters who want to provide commentary prior to starting a video.
NOTE: This feature cannot be enabled if either Auto-active or Auto-play are enabled.Auto-play*
Initiate Automatic playback of a selected video file for participants, upon their entry into the room. This is similar to Auto-Active but triggered upon entry. Once the video is finished, the media file is hidden.
This feature is ideal for participants who join the room late to catch up on introductory content.
NOTE: This feature cannot be enabled if either Auto-active or Active are enabled.Loop*
Enable this feature to play your video on a continuous loop. After the video finishes, it will automatically replay for the room until you press the pause button.
Global Mute*
When Global Mute is enabled on a media file, the selected video sound will be disabled for all participants in the room.
The sound icon on the active video will then turn red, indicating it has been enabled.
To re-enable sound, click the Global Mute toggle once more.
Auto-mute Room*
For a noise-free presentation, make use of the Auto-mute Room toggle. With this feature, all participants will have their microphones automatically disabled while the video is playing.
When the Auto-Mute Room feature is enabled, all participants' microphones will be automatically disabled and will appear red, only while the video is actively playing.
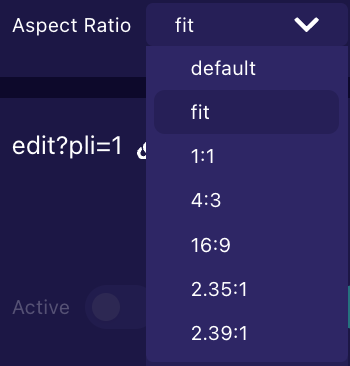
Aspect Ratio
Aspect ratio is a method to adjust the shape and size of the selected media file, usually expressed as two numbers separated by a colon, indicating the width and height of your media.
TODA TIP: Experiment with different ratios to find the
one that looks best for your needs.
Speed
Adjust the playback speed of your video by exploring the options in the video menu.

TODA TIP: Take advantage of the available playback speeds to navigate through your media, enabling a quicker or slower review.
Activate Media
Use the Activate Media arrows to navigate through media files set to Active. Click to the left to move up and to the right to move down. When a media file is activated, it will be displayed, and if it's a video file, it will automatically play in your meeting room.
TODA TIP: To identify which media is active in the room, look for the enabled Active toggle switch. The Active toggle will automatically enable only when using the Activate Media arrows. 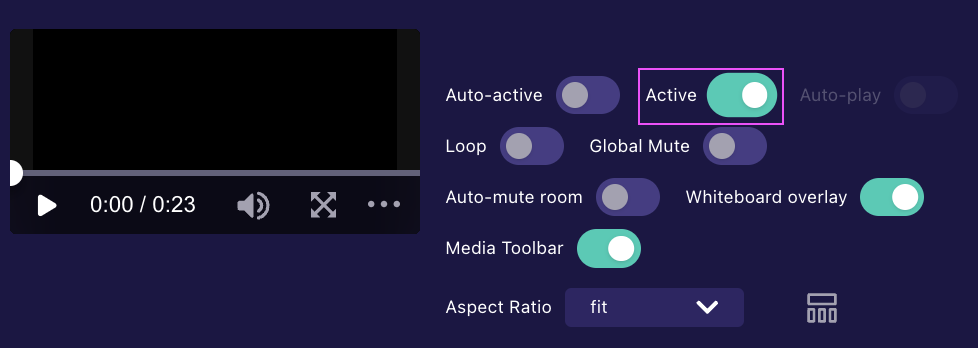
Media Presentation Layout
Select the Layout icon to choose the most fitting layout to view both participants and selected media files. Each media file can have its own unique layout, and you have the ability to change the layout as many times as you would like during your meeting.
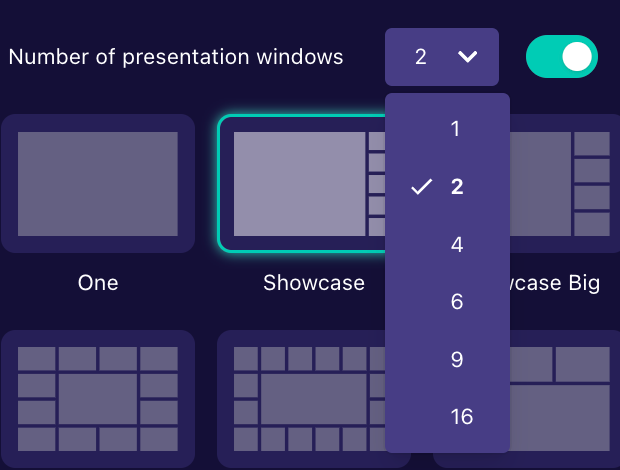
NOTE: By default, all active media files are displayed in the room. However, you can display multiple media files at a time (up to 16), when the Number of Presentation windows toggle is enabled.For example, if you select 2 from the Number of presentation windows dropdown, only 2 media files will be visible in the experience, even if 3 media files are set to Active in the ACP.
Media Toolbar
The Media Toolbar, situated in the upper right corner of your asset, allows the Host to easily modify the presentation layout by collapsing participant tiles. This feature is enabled by default.
Organize Media Files
CMS File Browser
The Content Management System (CMS) feature stores recordings and media, simplifying the process of downloading media files. This feature is room specific, meaning, only media files that have been uploaded to the room you are managing through the ACP will be available.
Locate and click the CMS File Browser button.
A dialogue box will appear.
Select the checkbox next to the file(s) you would like to download.

TODA TIP: Hover over the check mark icon to reveal an x icon.By clicking the x icon, the corresponding media file will remain in the CMS File browser, but is removed from the media list in both the ACP and HCP. To add the media files back to the ACP and HCP media tab, simply click on the plus icon.
Click Download.
Choose an available format (you can select multiple options).
Default is the original recording or raw footage formatted in .webm file.
Recording Proxy is a file that is created after a recording has ended, and has been transcoded into .MP4 format.
Click Cancel to exit the dialogue box, or click Confirm to continue to download the selected media files.
Files you have downloaded will be available in your device’s downloads folder.
Rearrange Media
After successfully uploading your media, you can easily rearrange the files to the desired order for your upcoming presentation.
Simply locate the media file you would like to move.
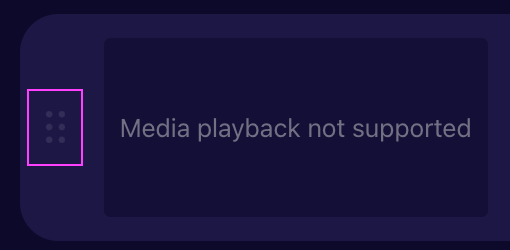
Next, click the drag feature, located to the left of your media.
Drag the media up or down to move it to the desired position.
Release the media to drop the file into place.
Copy Media Link
Copy a media link by clicking the Copy Link icon situated at the top center of the uploaded media file. This allows you to paste and view the link through a separate web browser.
Text displaying Copied will appear, once the link has successfully copied to your device’s clipboard.
TODA TIP: Hover over your media link to view detailed information about your media file.Rename Media
Media names can be found at the top center of each of their files in the ACP. To rename any of your media files, follow these simple steps:
Navigate to the selected media file.
Click the Menu icon, located on the upper right-hand side of the file.
Select the Rename option.
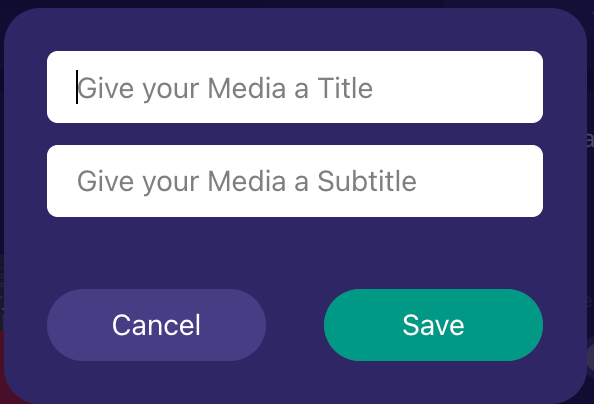
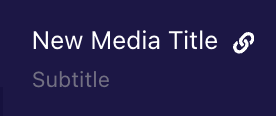
Next, give your media file a new title.
You may also add a subtitle (optional).
Click Save to confirm your changes, or click Cancel to keep your media file name as it is. If you have chosen to update your media file name, changes will be reflected immediately.
NOTE: Unless the Title toggle in the HCP is enabled, changes to the media file’s name will not be visible to participants in the room.
Remove Media
Media files can be removed from the ACP if they are not actively being used in the meeting room. To remove media files, proceed with the following steps:
Click the Menu icon, located on the upper right-hand side of the file.
Select the Remove option.
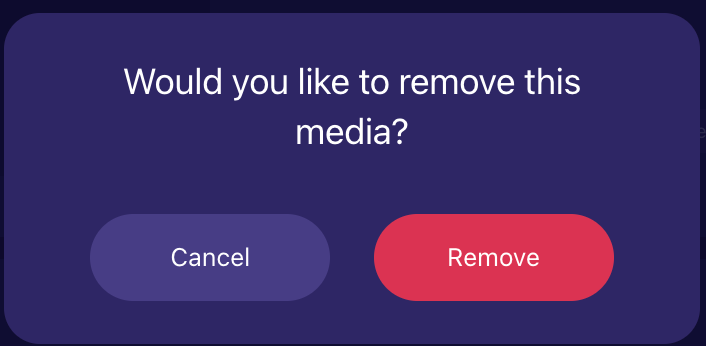
Click Cancel if you would like to keep the media file, or click Remove to delete the media file from the list.
Whiteboard Overlay
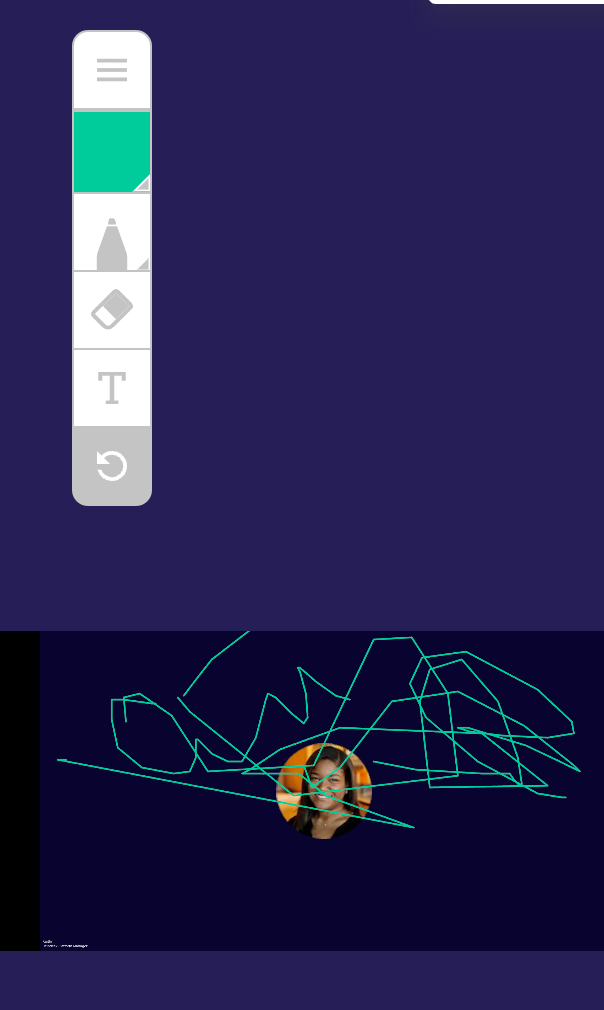
Annotate the selected media in your presentation by drawing or adding text. You can do this by clicking the whiteboard overlay toolbar, allowing you to write directly on both the whiteboard and your media.
Simply disable the Whiteboard overlay feature to completely remove any markings on your media.
Learn More About > The Whiteboard Toolbar
Need additional support?
Our support team is available to assist you with any questions or concerns you may have. Feel free to reach out by emailing us at help@lmmv.com.
Was this article helpful?
That’s Great!
Thank you for your feedback
Sorry! We couldn't be helpful
Thank you for your feedback
Feedback sent
We appreciate your effort and will try to fix the article


