View Table of Contents
Available: August 2024
Overview
Start using TODA Live's Microsoft Outlook integration, on Windows and macOS devices, to create rooms, organize your day-to-day, and schedule TODA Live meetings.
Requirements
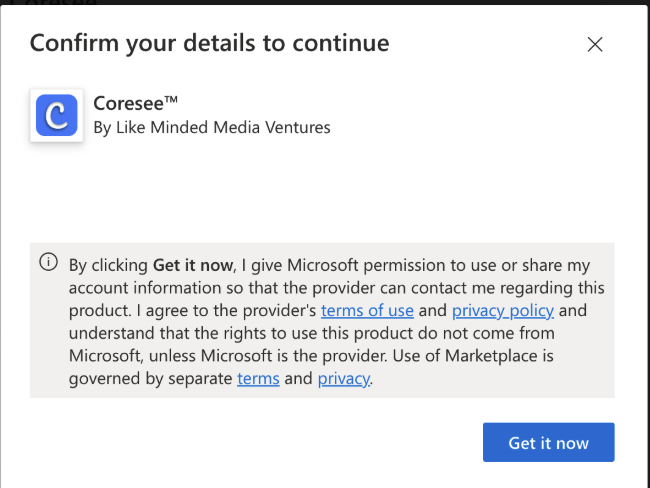
To integrate the TODA Live add-on into your Microsoft Outlook Calendar, please contact help@lmmv.com. Once installed, you will be able to sign in and leverage the full suite of TODA Live integration features.
Feature Guide
Sign In from the Outlook Web App
Sign in to your TODA Live account through the Microsoft Outlook Web App to manage your room settings and start inviting others to your meeting room!
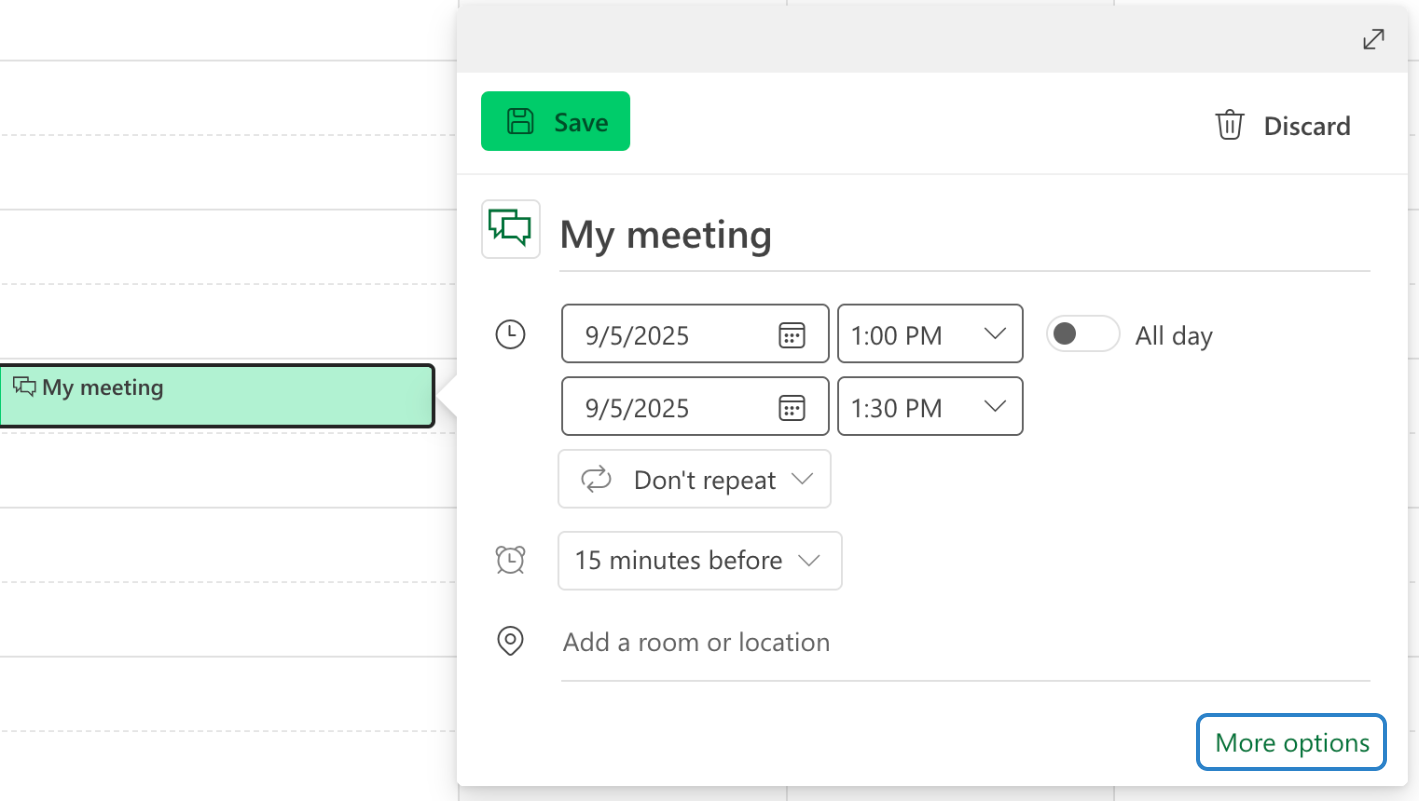
Starting from the Outlook Web App, create or open an event.
From the event window, click More Options.
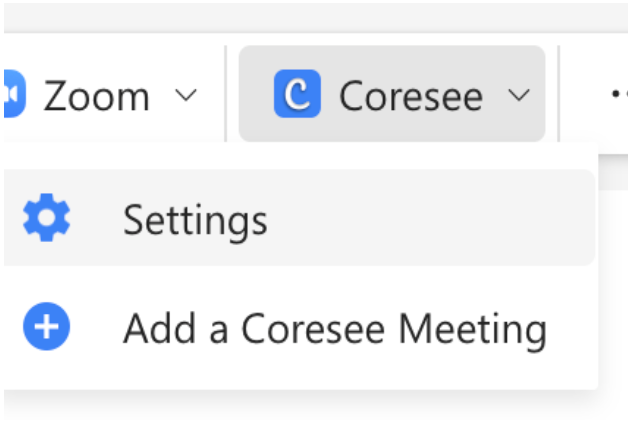
Click the TODA Live plugin, located on the event ribbon.
Select the Settings option.
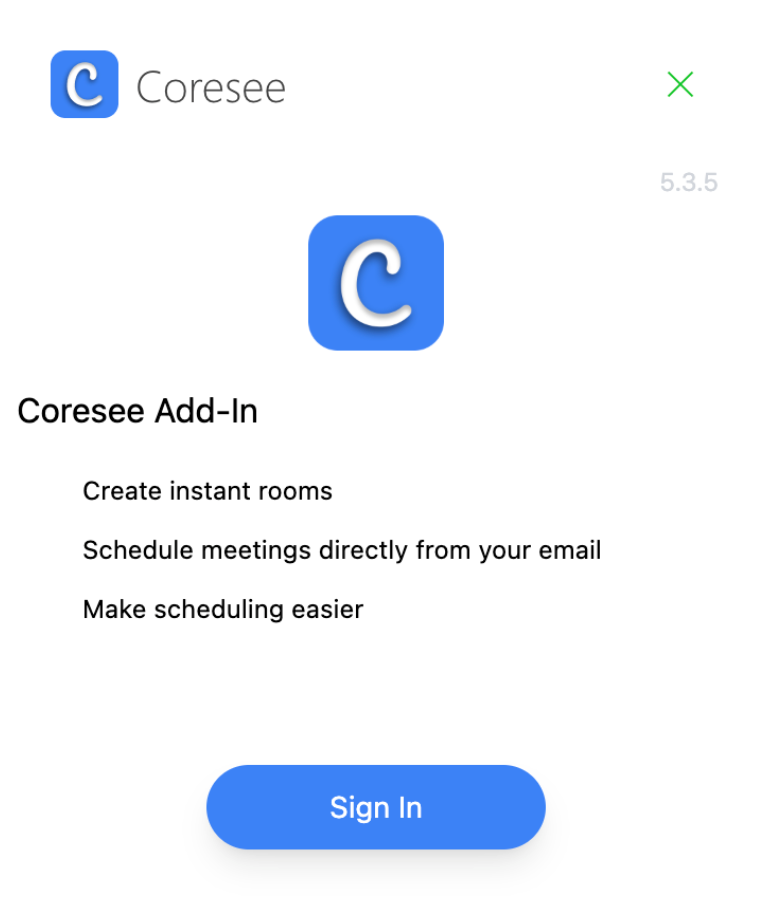
The TODA Live plugin panel will appear on the right-hand side of the event window.
When prompted, click the Sign In button.
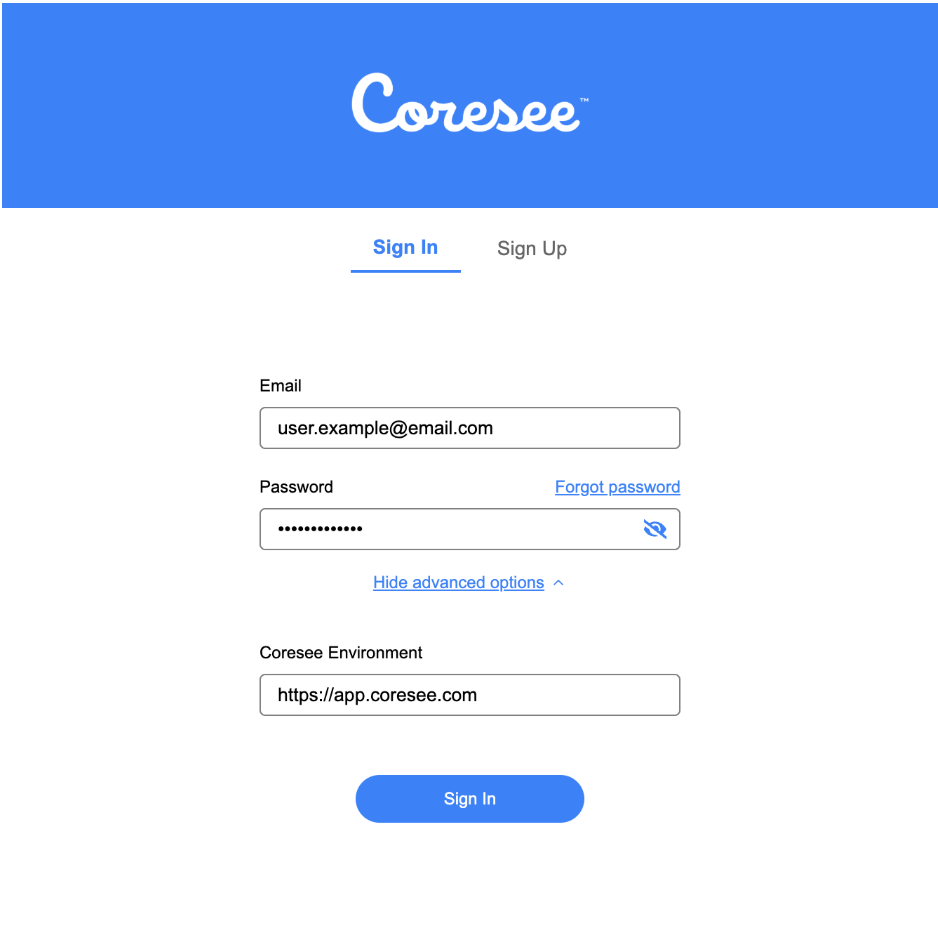
A Sign In window will appear.
Enter your TODA Live credentials.
From the TODA Live plugin panel you will find the event details along with additional room settings.
TODA TIP: Meeting room settings can also be found and adjusted in the Homepage Room Panel – click here to learn more!
Sign In from the Outlook Desktop App
Sign in to your TODA Live account through the Microsoft Outlook Desktop App to manage your room settings and start inviting others to your meeting room!
- Starting in your Outlook calendar, create or open an event.
- An additional step may be required to open an event. For new events click More Options. Alternatively, click the Edit button, to open a previously created event.
- Next, click the TODA Live plugin, and select the Settings option.
NOTE: You may have to click the three dot menu to see the TODA Live plugin.
- The TODA Live plugin panel will appear on the right-hand side of your event window.
- When prompted, click the Sign In button.
- A Sign In window will appear.
- Enter your TODA Live credentials.
From the TODA Live plugin panel you will find the event details along with additional room settings.
TODA TIP: Meeting room settings can also be found and adjusted in the Homepage Room Panel – click here to learn more!
Create a TODA Live Room
Time to create a TODA Live room and invite others to your event, right from your Outlook Web or Desktop App.
- Starting in Outlook, create or open an event.
- An additional step may be required to open an event. For new events click More Options. Alternatively, click the Edit button, to open a previously created event.
- Next, navigate to and click the TODA Live plugin, then select the Settings option.
- The TODA Live plugin panel will appear on the right-hand side of the event window.
NOTE: Sign In is required to access the TODA Live plugin panel.
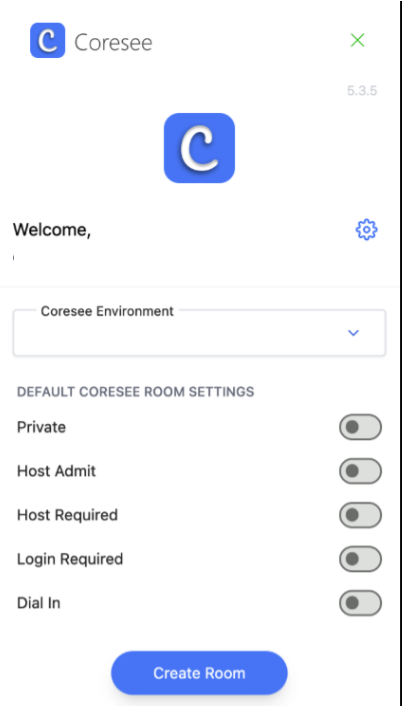
- From the panel, enable your preferred room settings, then click the Create Room button.
To update your meeting room details, simply return to your event, adjust your event details and head to the TODA Live plugin panel, where you’ll find and click the Update button.
Meeting Room Settings
*This section will cover how to access meeting room settings from Microsoft Outlook Web.
TODA Live meeting room settings can be updated directly from Microsoft Outlook. This makes it simple to adjust Host and privacy settings without having to leave the Microsoft Outlook App.
From your Outlook Calendar, click on an event in which TODA Live has been selected for video conferencing, then click the Edit button.
Next, navigate to and click the TODA Live plugin, then select the Settings option.
The TODA Live plugin panel will appear on the right-hand side of the event window.
NOTE: Sign In is required to access the TODA Live plugin panel.
Here, you will find your TODA Live meeting room details, along with your default room setting toggles.
TODA TIP: Meeting room settings can also be found and adjusted in the Homepage Room Panel – click here to learn more!
Sign Out of TODA Live
Switch accounts easily by signing out of your current TODA Live account and signing in to a new one.
- Starting in your Outlook calendar, create or open an event.
- An additional step may be required to open an event. For new events click More Options. Alternatively, click the Edit button, to open a previously created event.
- On the event ribbon, click the TODA Live plugin.
- From here, select the Sign Out option.
That’s it! You’ll get a notification confirming you’ve successfully signed out of your TODA Live account.
Need additional support?
Our support team is available to assist you with any questions or concerns you may have. Feel free to reach out by emailing us at help@lmmv.com.
Was this article helpful?
That’s Great!
Thank you for your feedback
Sorry! We couldn't be helpful
Thank you for your feedback
Feedback sent
We appreciate your effort and will try to fix the article